GUI, part 1
You can create a wide variety of GUI objects.
But to create a useful user interface, you need to group the components
and present them in a way that is easy to understand.
Java provides a number of container objects and layout managers
to help with this.
Frames are free standing windows. Panels are collections of other
components (including panels) that are displayed in a frame.
Panels can also be displayed inside an applet.
A layout manager controls the order in which components are displayed
inside a container.
There are several that are built into the Java libraries.
The simplest is the FlowLayout.
This just puts the components in a row until there is no more room
and then goes to the next row.
We will see examples of these as we go.
Briefly, the others are:
- Border
This divides the space into regions North, South, East, West and Center. You can add
components to any area. Only one is displayed, so nest inside other components.
- Box
This arranges the components in either a vertical or horizontal box.
- Card
The components are laid out like a stack of cards. Only the top one is visible.
- Grid
Places the components in a rectangular grid. You specify the number
of rows and columns.
- GridBag
Like the Grid layout, but the number of rows and columns can vary in length.
Very flexible, but hard to use.
There are a large number of other GUI components and tools.
These include details of the other components like borders, tool tips and such.
But there are other container objects like trees and tables.
Here is a small example of GUI components showing some of the things
discussed above.
This is what the display will look like.
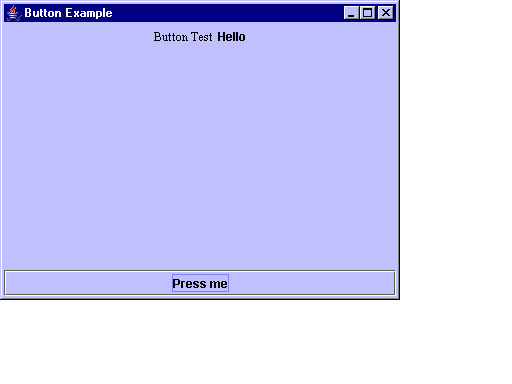 While it looks like one image, there are three seperate windows to hold everything
and 3 seperate objects on the display.
One window is the outside frame.
This appears as a standard Windows (if you are running it on Windows)
window.
Inside it are two panels.
This don't have any visible aspect, but are used as containers to control
the arrangement of the other objects.
One panel contains the two labels at the top of the display.
The other contains that panel and the button at the bottom.
The surrounding frame holds both panels.
import javax.swing.*;
import java.awt.*;
import java.awt.event.*;
/**
 * This is a simple demo of events and such
 *
 * @author Kent Archie
 * @version 1.0
 */
public class RunButton extends JFrame
{
    private JLabel title;   // title at top of display
    private JLabel status;  // current value of the button counter
    private JButton click;  // the button to press
    private JPanel upper;   // holds the title and status
    private JPanel appPanel; // holds the whole display
    private int count=0;     // how many times has the button been pressed

    /**
     * Constructor for objects of class RunButton
     */
    public RunButton()
    {
        super("Button Example"); // set frame title
        setSize(400,300);      // set frame size
        setVisible(true);   // make sure we can see it

		// create the title widget, tell it to put the message string
		// center and specify the font
        title = new JLabel ("Button Test", SwingConstants.CENTER);
        title.setFont (new Font ("Serif", Font.PLAIN, 12));

		// create the button that does the work
        click = new JButton("Press me");

		// this label will be updated to reflect the count
        status = new JLabel("Hello",SwingConstants.CENTER); // nothing there to start

		// Create a panel container to hold the two labels
		//  and put the two labels in the panel;
		//  This will go in the upper part of the frame.
        upper = new JPanel();
        upper.setLayout(new FlowLayout());
        upper.add(title); upper.add(status);

        // this holds the whole display
        appPanel = new JPanel();
        appPanel.setLayout(new BorderLayout());
        appPanel.add( upper,BorderLayout.NORTH);
        appPanel.add( click, BorderLayout.SOUTH);

        setContentPane(appPanel);  // put in the main display area

        // set up the event handler for the button
        click.addActionListener(new ButtonListener());

    } // RunButton constructor

    // inner class to handle events
    private class ButtonListener implements ActionListener
    {
        public void actionPerformed(ActionEvent event)
        {
            Object source = event.getSource();  // who sent the action?
            if(source == click) {  // was it the button?
				// update the counter and then the status label
				// the message depends on the number of times the
				// button was clicked
                count++;
                if(count <= 1)
                    status.setText("The button was pressed once");
                else
                    status.setText("The button was pressed " + count + " times");
            }
            else   // was not our button
                status.setText("Something else happened");
        } // actionPerformed
    } // class ButtonListener
} // class RunButton
This creates the GUI components we are interested in, arranges them in a
panel and make the panel part of the display.
It also creates an event listener to handle the button presses.
Now let's look at the pieces of the display and see which
code created and controls them.
The frame itself is created by creating the object.
There is code from both ButtonMain (to create the object)
and RunButton (to set its properties).
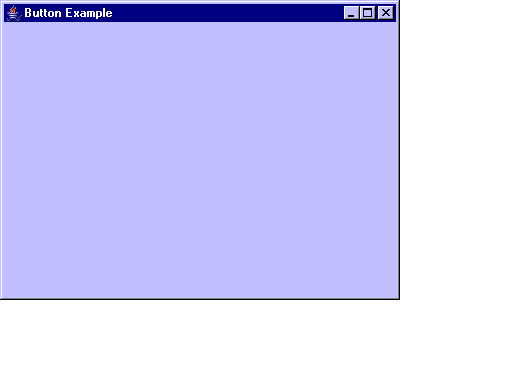
Without the panels and widgets, it looks like this.
From RunButton
super("Button Example"); // set frame title
setSize(400,300);      // set frame size
setVisible(true);   // make sure we can see it
From ButtonMain
RunButton joe = new RunButton();
joe.show();  // display the frame and contents
|
|
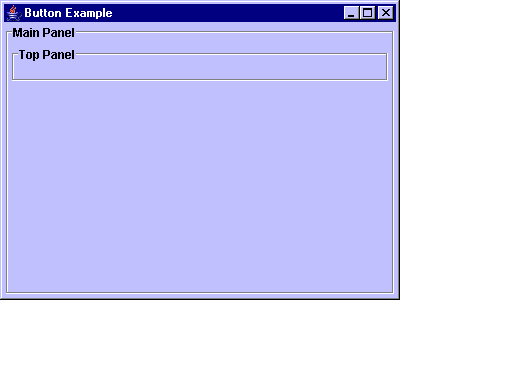
The panels that will contain the other widgets are not normally visible on
the frame.
In this bit, I caused the panels to have borders but not to show the widgets.
The code creates the panel and sets its layout manager.
From RunButton
Top panel
upper = new JPanel();
upper.setLayout(new FlowLayout());
Main panel
appPanel = new JPanel();
appPanel.setLayout(new BorderLayout());
|
|
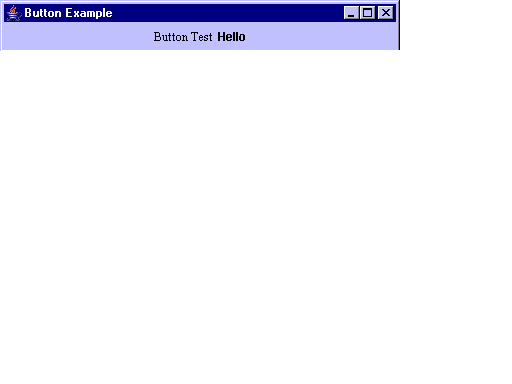
The two labels are very similar, here is the code and what they look like.
From RunButton
private JLabel title;   // title at top of display
private JLabel status;  // current value of the button counter
title = new JLabel ("Button Test", SwingConstants.CENTER);
title.setFont (new Font ("Serif", Font.PLAIN, 12));
status = new JLabel("Hello",SwingConstants.CENTER); // nothing there to start
|
|
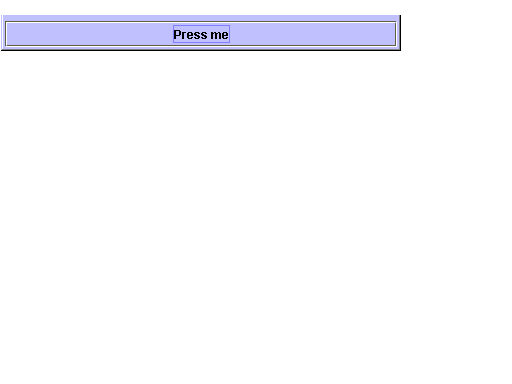
The button at the bottom is created like this.
From RunButton
private JButton click;  // the button to press
click = new JButton("Press me");
click.addActionListener(new ButtonListener());
|
|
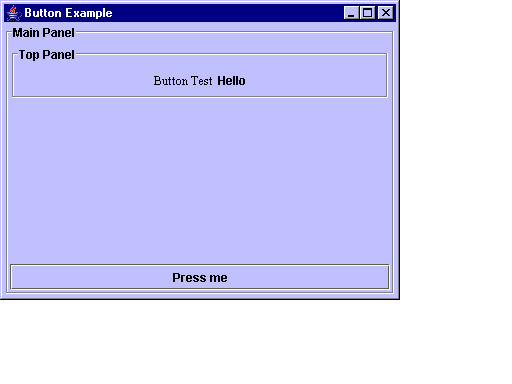
Lastly, the pieces are added to the panels and the panels are added to the frame.
From RunButton
add the two labels to the top panel
upper.add(title); upper.add(status);
Add the top panels and the button to the main panel
appPanel.add( upper,BorderLayout.NORTH);
appPanel.add( click, BorderLayout.SOUTH);
put in the main display area
setContentPane(appPanel);
|
|
The main code that drives this is here.
/**
 * This is the simple driver for the button program
 * it creates the buton panel object and displays it.
 *
 * @author Kent Archie
 * @version 1.0
 */
public class ButtonMain
{
    public static void main(String[] args)
    {
      RunButton joe = new RunButton();  // create the object and thus the frame
      joe.show();  // display the frame and contents
    } // main
}
This creates and instance of the GUI panel we just made.
It then runs its show() method so it gets displayed.
 While it looks like one image, there are three seperate windows to hold everything
and 3 seperate objects on the display.
One window is the outside frame.
This appears as a standard Windows (if you are running it on Windows)
window.
Inside it are two panels.
This don't have any visible aspect, but are used as containers to control
the arrangement of the other objects.
One panel contains the two labels at the top of the display.
The other contains that panel and the button at the bottom.
The surrounding frame holds both panels.


